
티스토리 뷰
wsl2로 설치한 Ubuntu을 Powershell 대신 기본 터미널로 설정하고 커스터마이징 하기 (feat.Oh My Zsh, Powerlevel10K)
YG - 96년생 , 강아지 있음, 개발자 희망 2023. 11. 11. 22:31
터미널 커스터마이징 하기 전

터미널 커스터마이징 하고 난 후

시작

먼저 터미널에서 shift를 누르고 설정을 눌러줍니다.
그러면 vscode에서 settings.json에 들어갈 수 있습니다.

그리고 wsl 확장자를 깔아줍니다.
Name: WSL
Id: ms-vscode-remote.remote-wsl
Description: Open any folder in the Windows Subsystem for Linux (WSL) and take advantage of Visual Studio Code's full feature set.
Version: 0.81.8
Publisher: Microsoft
VS Marketplace Link: https://marketplace.visualstudio.com/items?itemName=ms-vscode-remote.remote-wsl
WSL - Visual Studio Marketplace
Extension for Visual Studio Code - Open any folder in the Windows Subsystem for Linux (WSL) and take advantage of Visual Studio Code's full feature set.
marketplace.visualstudio.com
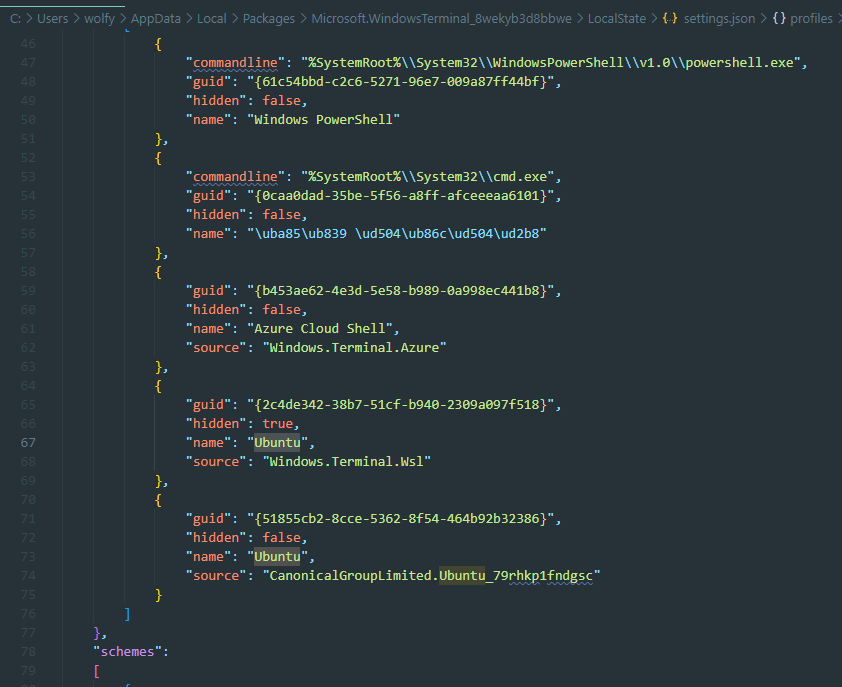
터미널에서 새로운 탭을 눌렀을 때 window powershell이 아닌 ubuntu가 보이도록 하겠습니다.

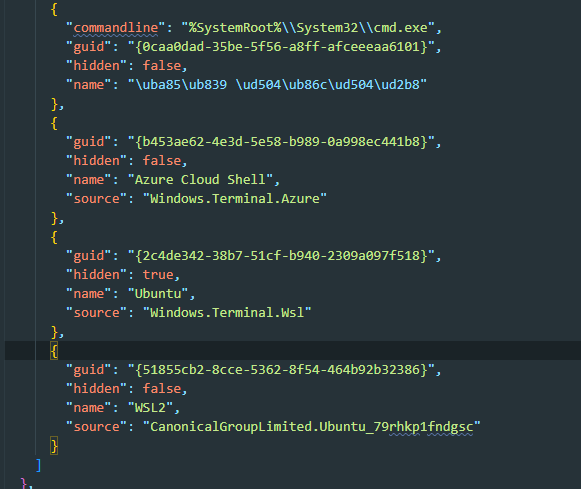
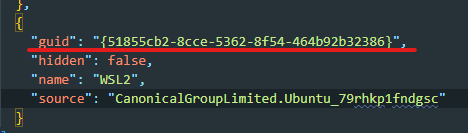
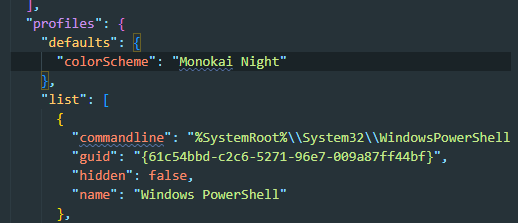
먼저 settings.json에서 name이 Ubuntu인 것을 찾아서 이름을 바꿔보았습니다. 저의 경우 2개가 있기 때문에 무엇을 이용하면 될지 확인하기 위해 name을 WSL2로 변경해보았어요
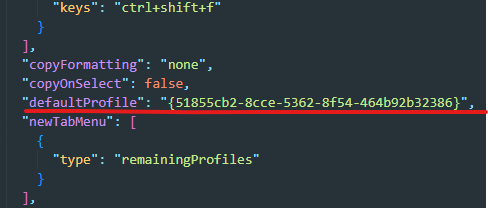
이제 이 Ubuntu의 guid 값을 defaultProfile에 복사 붙혀넣기를 해주면 기본 터미널이 Ubuntu로 설정됩니다.
Oh My Zsh 다운로드 받는 방법
oh-my-zsh는 bash 쉘이 아니라 zsh 쉘로 zsh쉘을 꾸미고 관리하는 프레임워크입니다.
설치 방법
https://github.com/ohmyzsh/ohmyzsh/wiki/Installing-ZSH
Installing ZSH
🙃 A delightful community-driven (with 2,200+ contributors) framework for managing your zsh configuration. Includes 300+ optional plugins (rails, git, macOS, hub, docker, homebrew, node, php, pyth...
github.com
Ubuntu 에 대한 설치 방법이 나와있습니다.
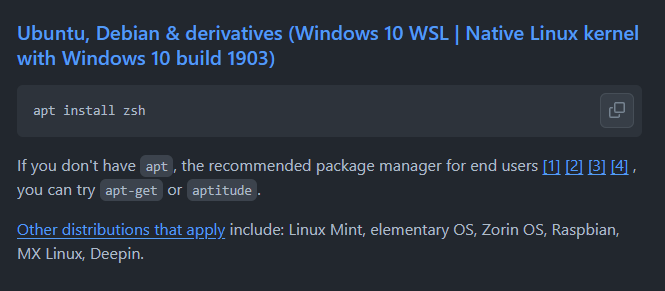

sudo apt install zsh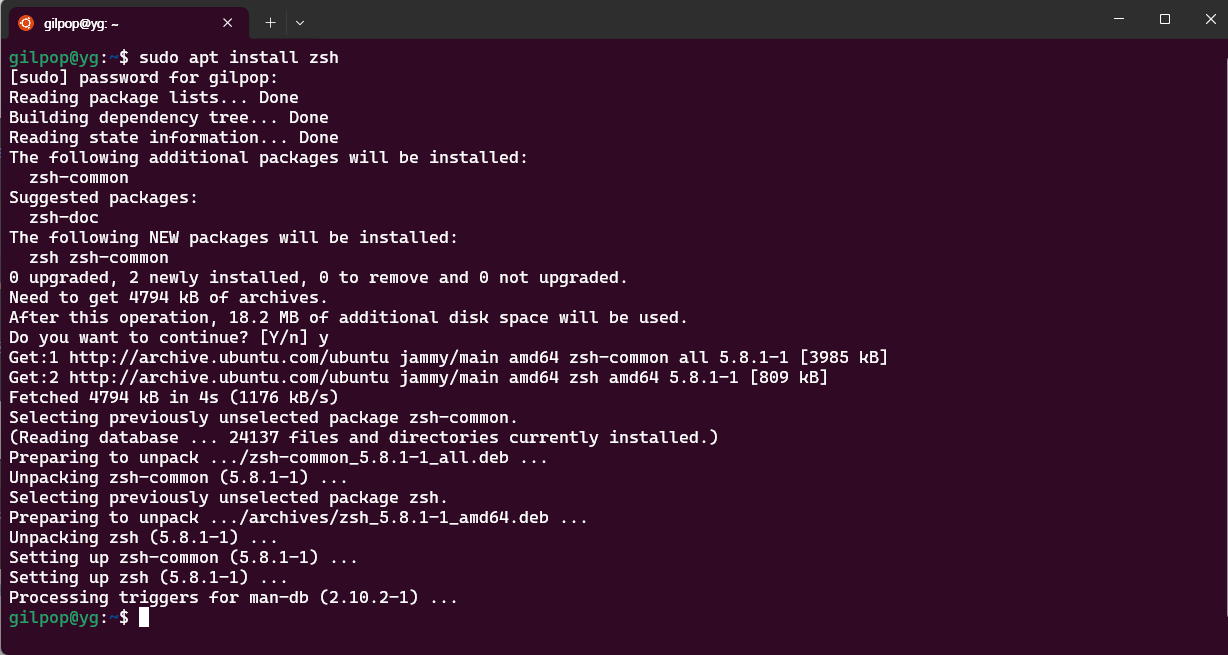
설치한 뒤 curl 명령어로 설정해주면 됩니다.
https://github.com/ohmyzsh/ohmyzsh
GitHub - ohmyzsh/ohmyzsh: 🙃 A delightful community-driven (with 2,200+ contributors) framework for managing your zsh config
🙃 A delightful community-driven (with 2,200+ contributors) framework for managing your zsh configuration. Includes 300+ optional plugins (rails, git, macOS, hub, docker, homebrew, node, php, pyth...
github.com
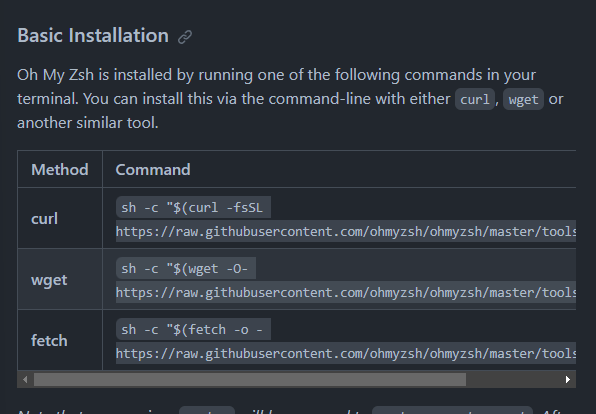
sh -c "$(curl -fsSL https://raw.githubusercontent.com/ohmyzsh/ohmyzsh/master/tools/install.sh)"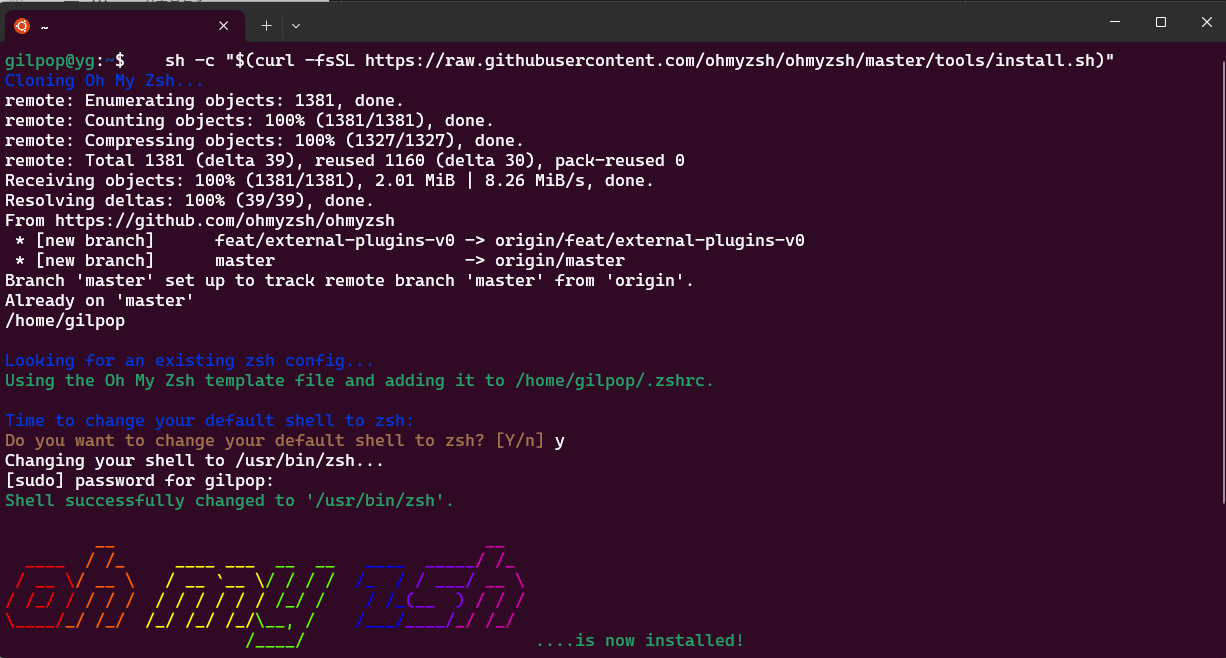
Oh My Zsh 설치 완료
zsh로 설정된 터미널을 꾸며보겠습니다.
터미널 테마를 모아둔 사이트 (TerminalSplash)
>_TerminalSplash - Windows Terminal Themes
A collection of Windows Terminal Themes
terminalsplash.com
많은 테마가 있는데 원하는 테마를 고르시면 됩니다.
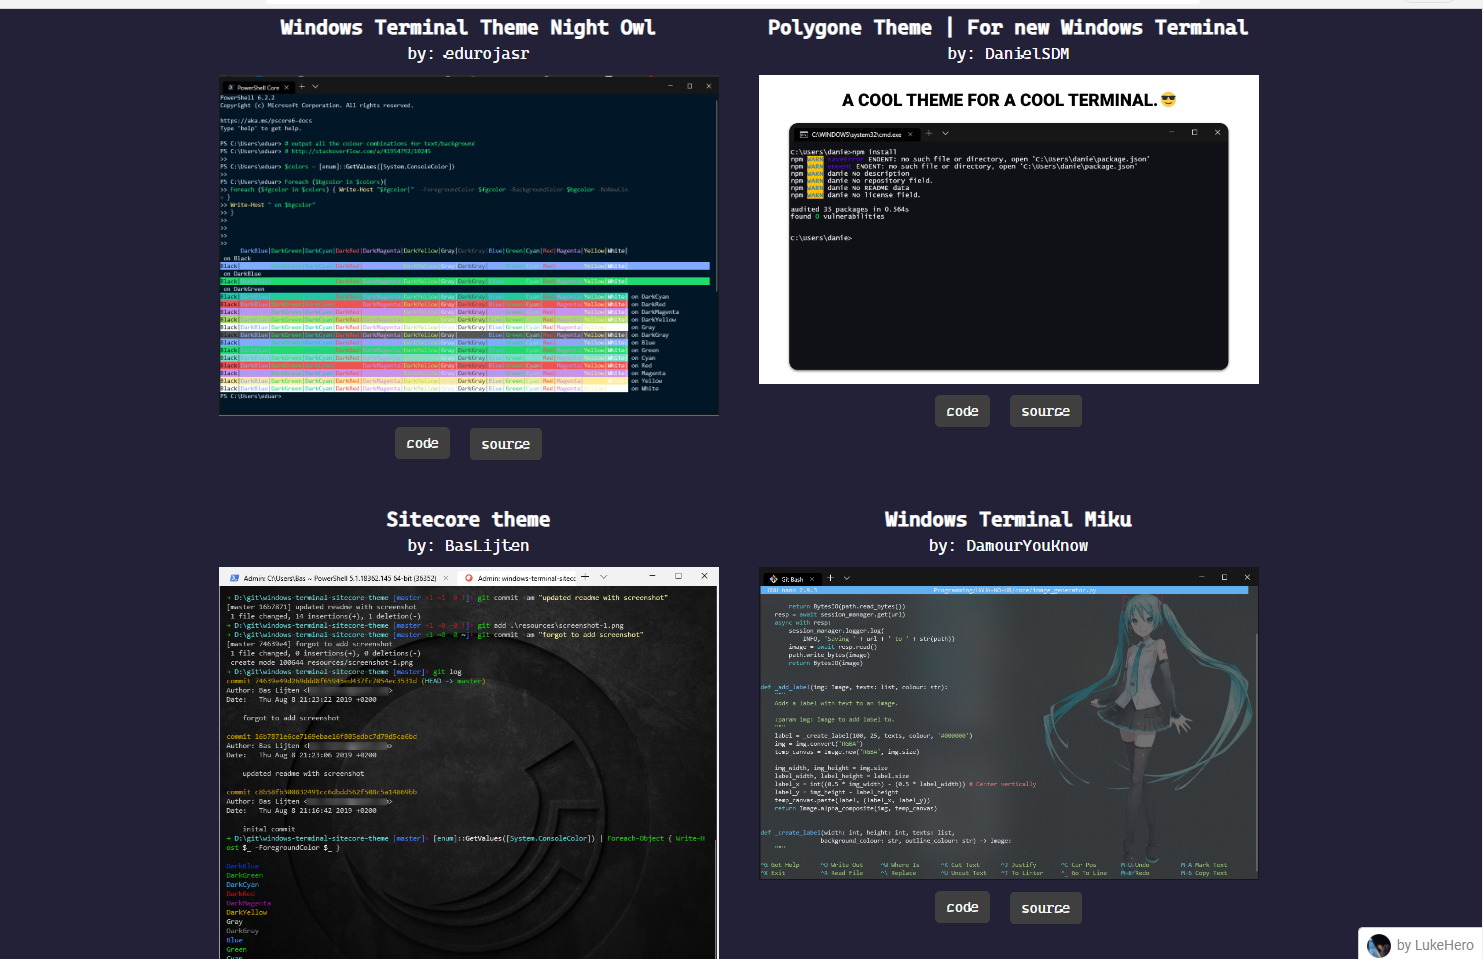
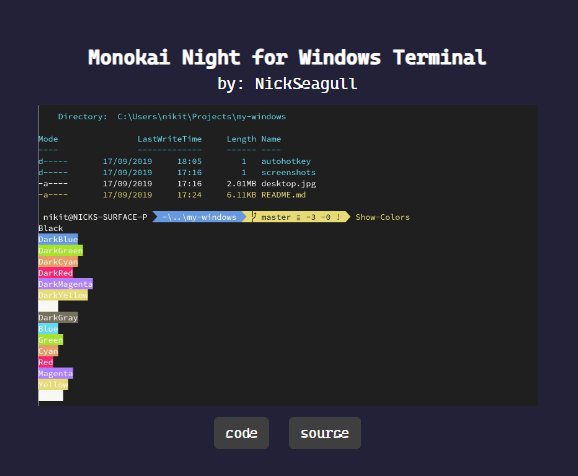
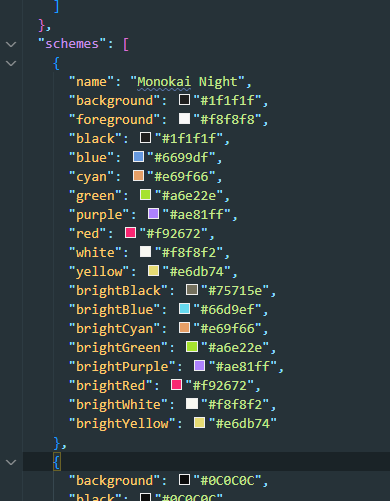
code 버튼을 눌러서 코드를 복사한 후 settings.json의 schemes에 붙혀넣기를 해줍니다.
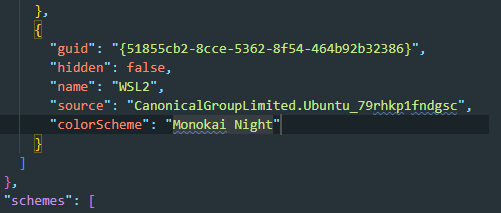
그래서 원하는 터미널에 적용을 하거나 전부 테마를 적용해줄 수 있습니다.
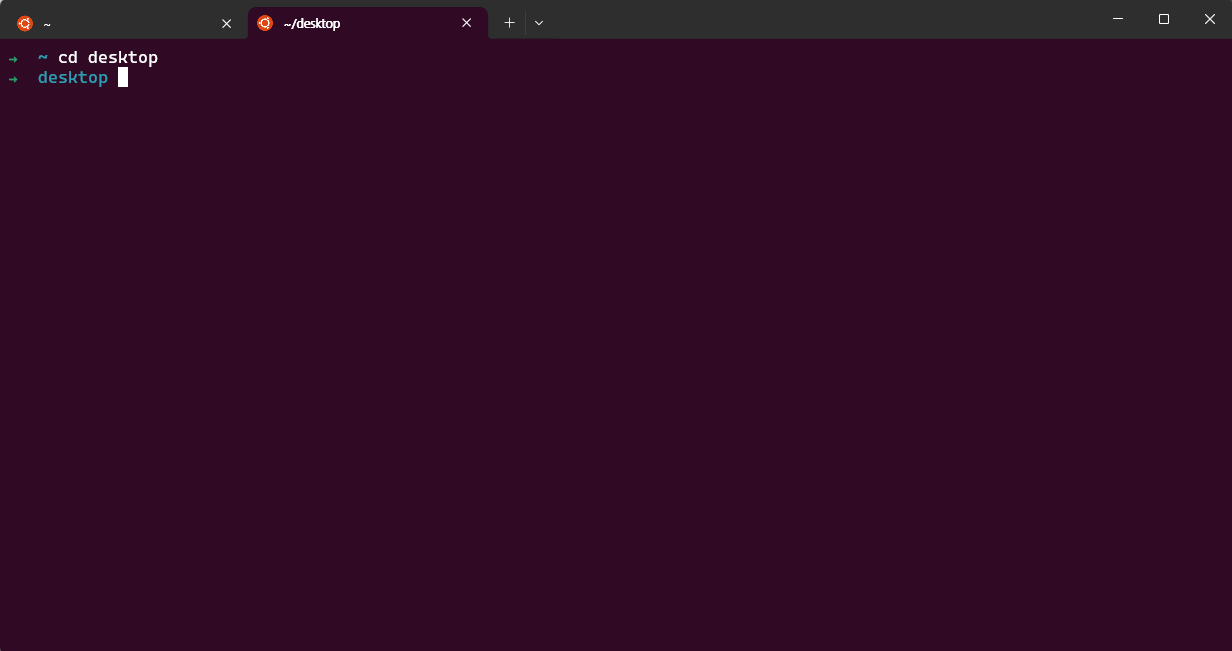
Before
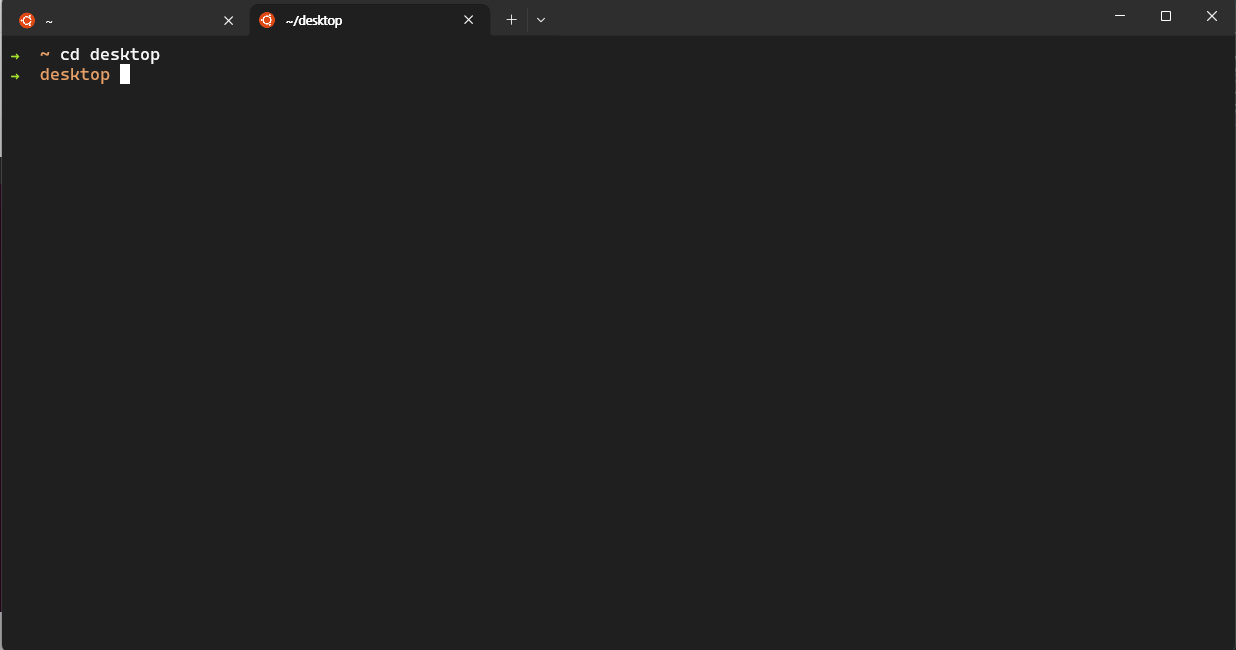
After
테마를 적용해서 나름 이쁘게 변했지만 더 추가로 적용할 수 있는 툴이 있는데요
zsh를 위한 테마가 있습니다. Powerlevel10K 라고 하는데요
GitHub - romkatv/powerlevel10k: A Zsh theme
A Zsh theme. Contribute to romkatv/powerlevel10k development by creating an account on GitHub.
github.com
Oh My Zsh를 통해 설치하는 방법을 이용하겠습니다.
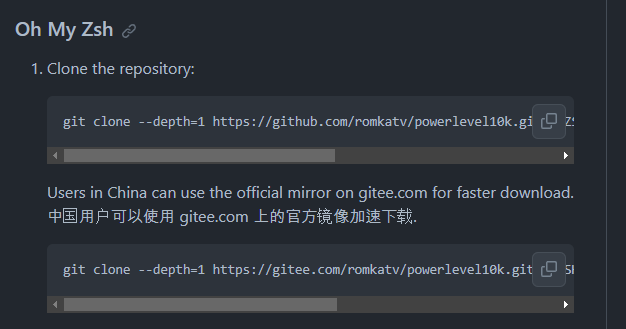
sudo git clone --depth=1 https://github.com/romkatv/powerlevel10k.git ${ZSH_CUSTOM:-$HOME/.oh-my-zsh/custom}/themes/powerlevel10k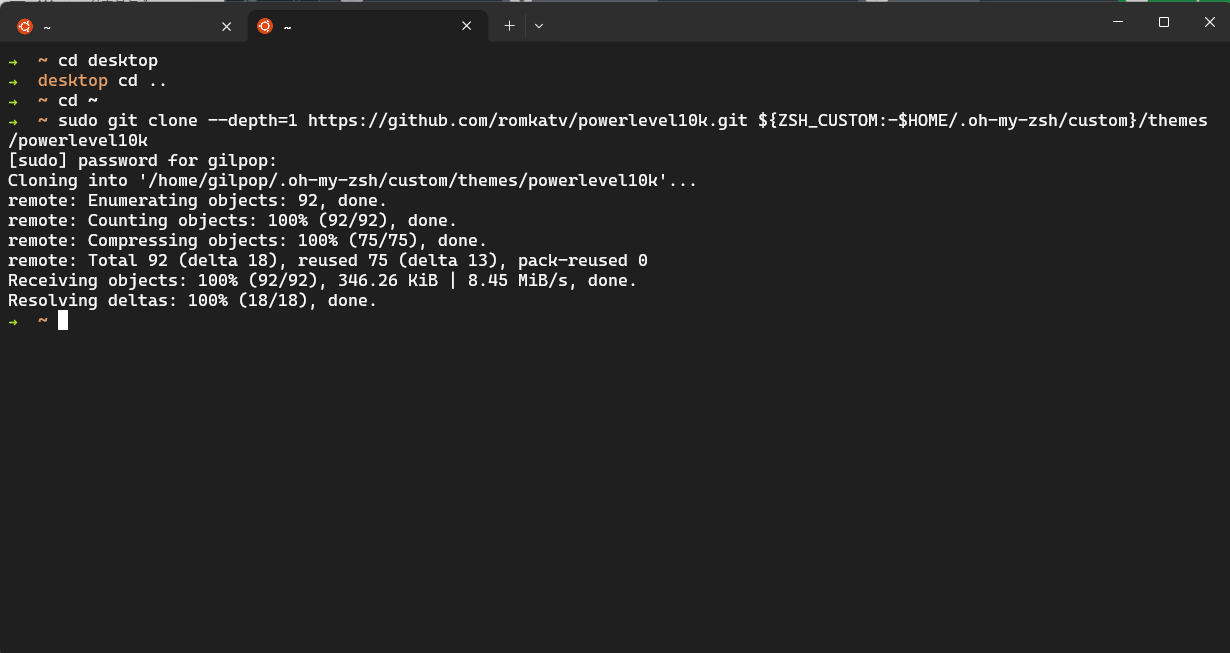
설치를 완료하였다면 루트 경로에서 아래의 명령어를 입력해줍니다.
code .zshrc
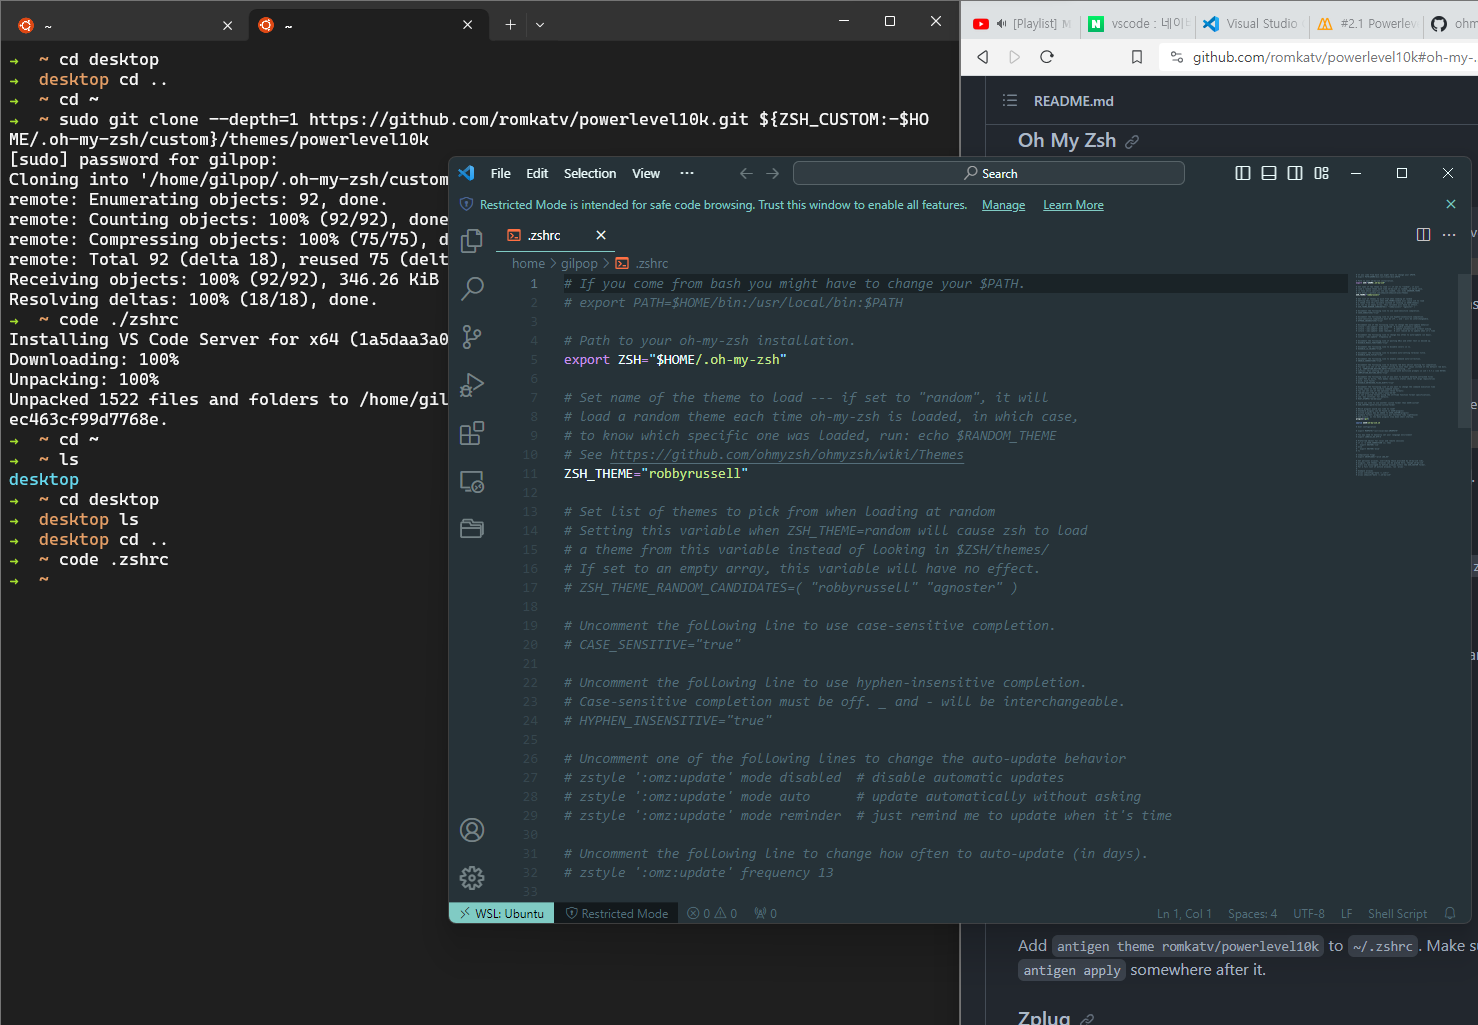
그리고 ZSH_THEME을 변경해줍니다.
# ZSH_THEME="robbyrussell"  << 를 powerlevel10k/powerlevel10k로 변경

ZSH_THEME="powerlevel10k/powerlevel10k"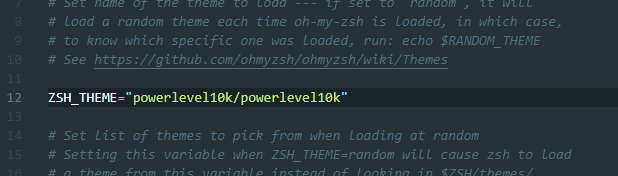
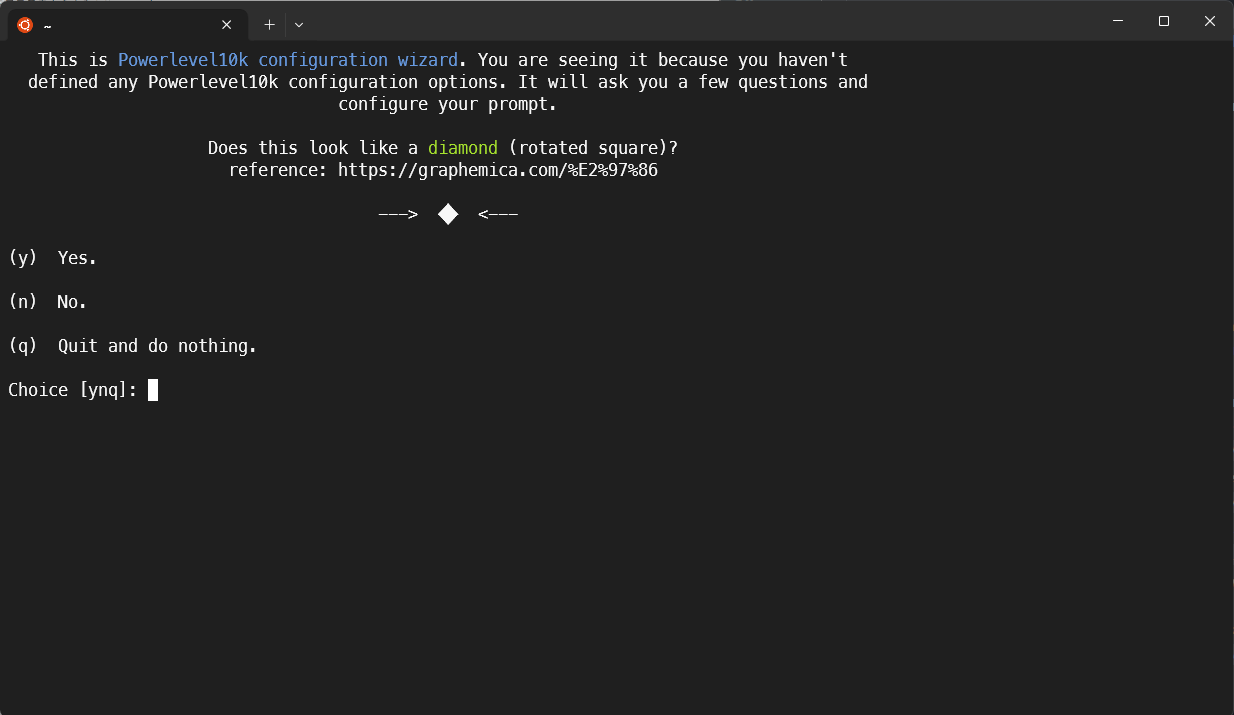
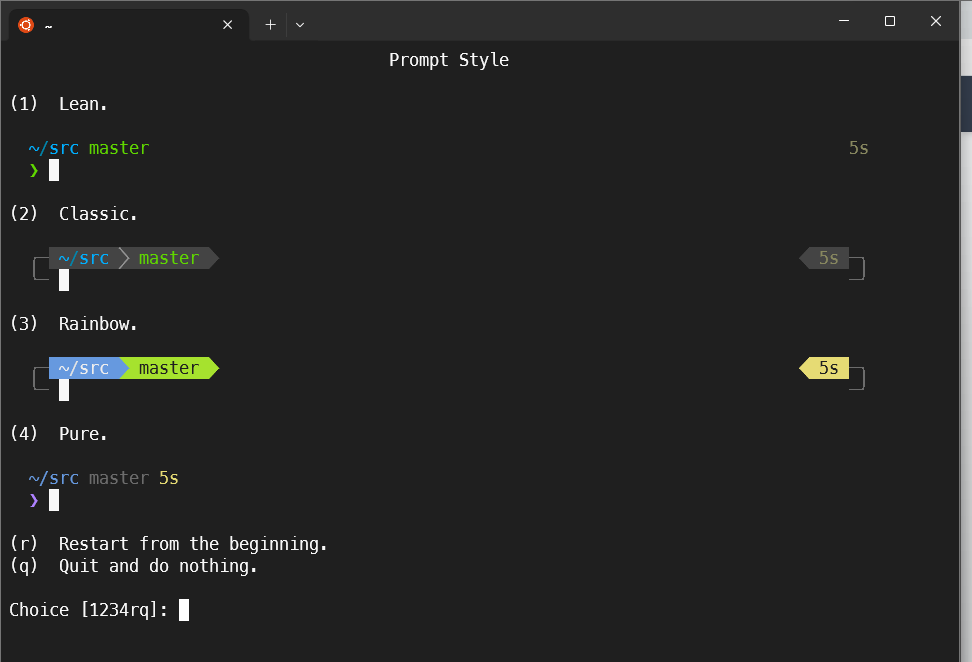
설정을 완료하고 터미널을 다시 켜보면 Powerlevel10K를 설정할 수 있는 창이 나옵니다
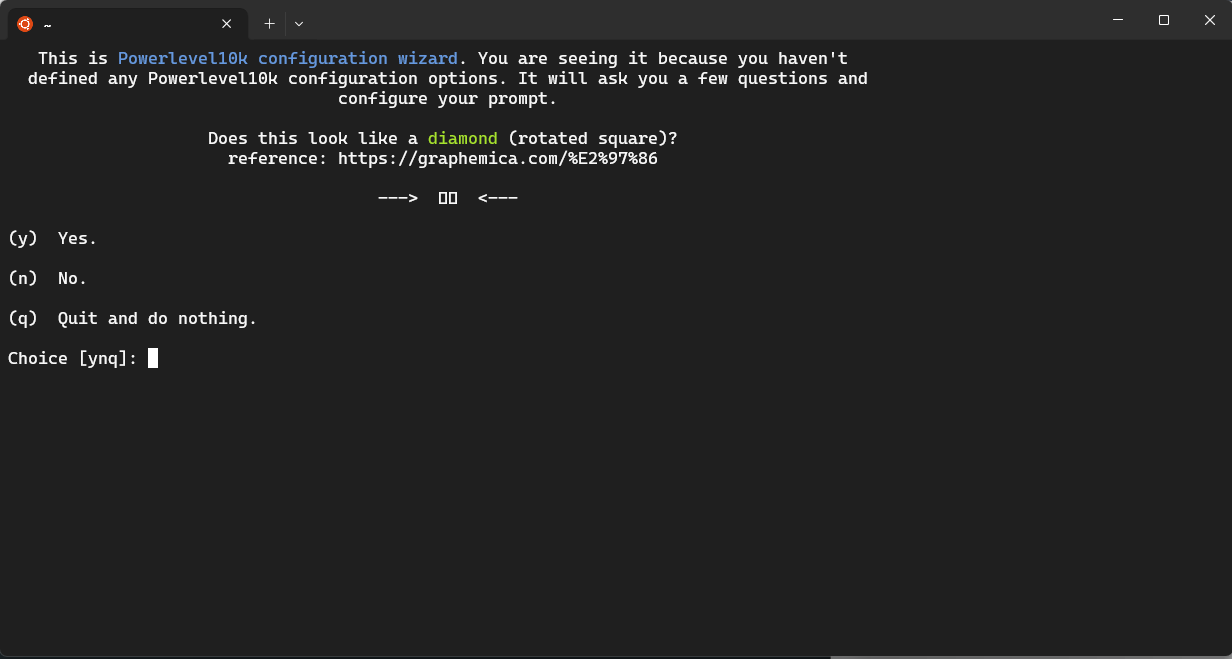
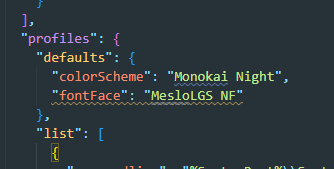
다이아로 보이느냐고 묻는 창인데 네모로 보이는데요. 폰트를 설정해줘야 합니다. settings.json / profiles의 defaults에 아래의 속성을 추가해줍니다.
"fontFace": "MesloLGS NF"
settings.json
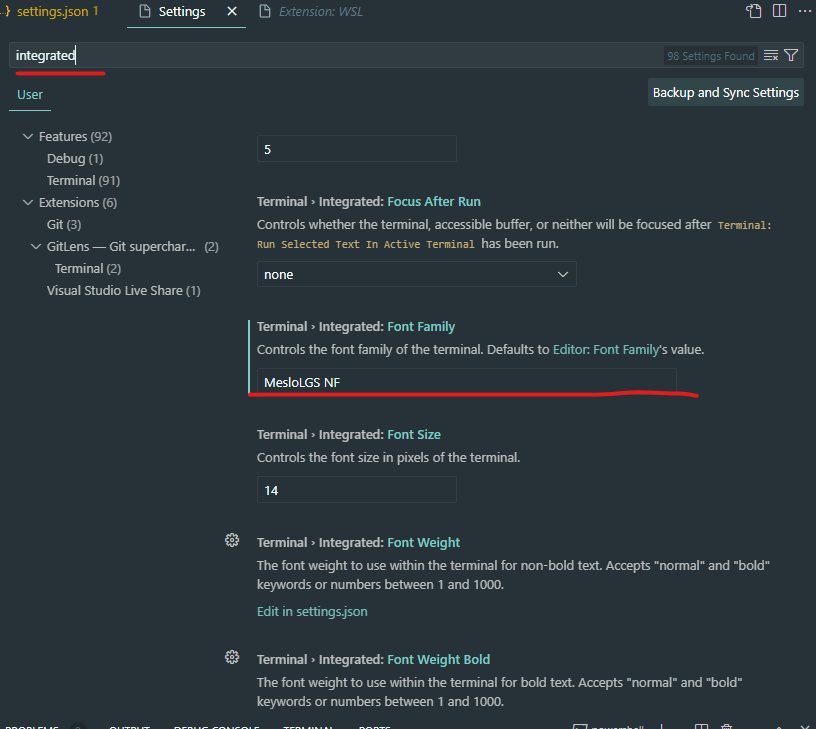
그리고 VSCode에서도 설정해줍니다. 설정으로 들어가서 integrated를 검색창에 입력한 후 Font Family가 나올때까지 밑으로 스크롤해서 MesloLGS NF 를 입력해주면 됩니다.
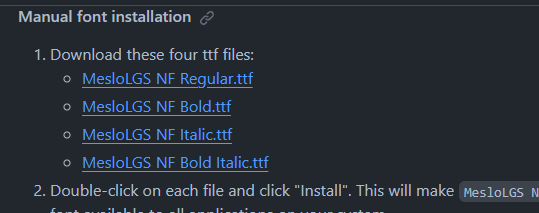
MesloLGS NF 폰트도 다운로드 받아야하는데요
GitHub - romkatv/powerlevel10k: A Zsh theme
A Zsh theme. Contribute to romkatv/powerlevel10k development by creating an account on GitHub.
github.com
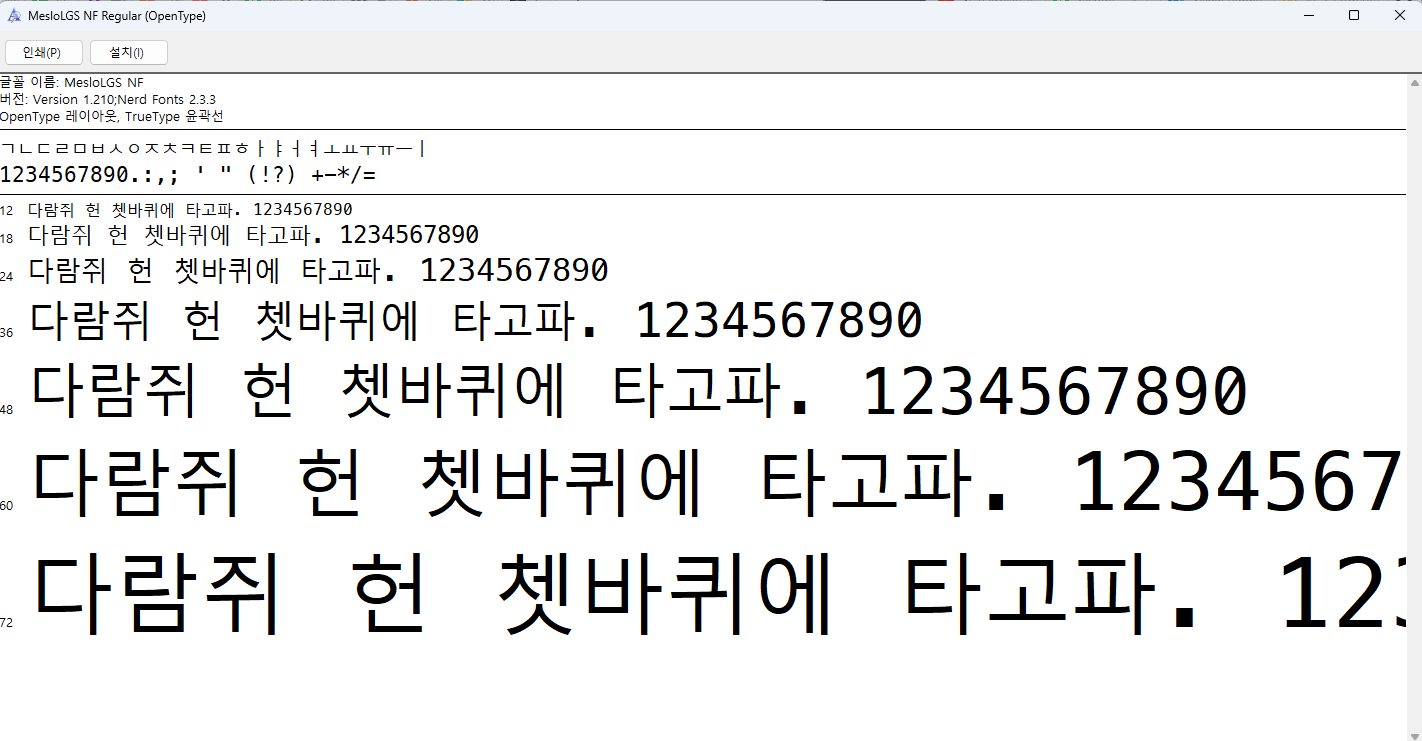
링크에서 4개의 폰트를 전부 다운받고 적용해줍니다.
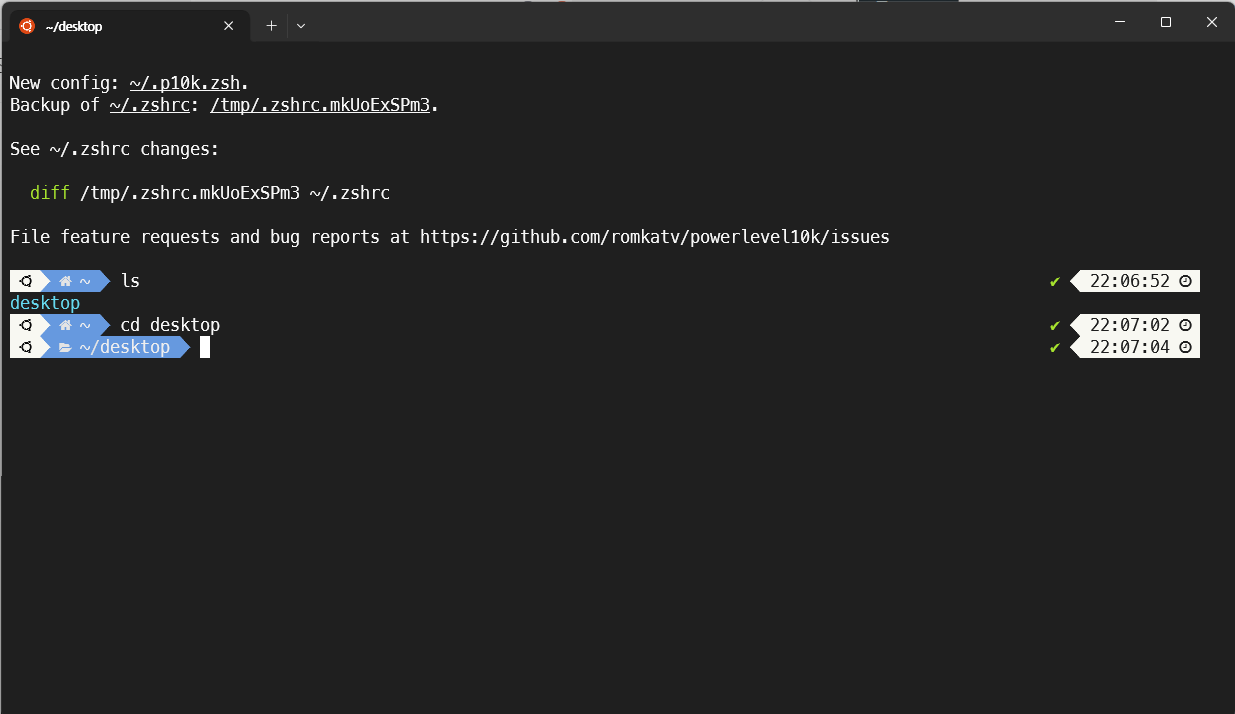
모든 설정이 끝나면 아래의 사진처럼 다이아몬드가 보입니다
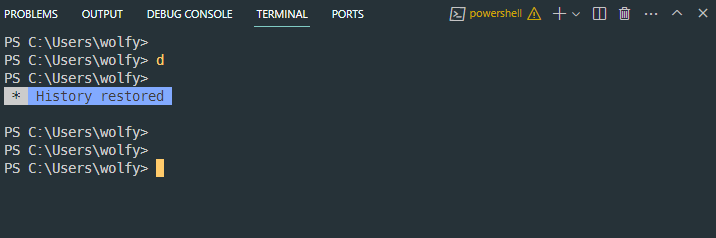
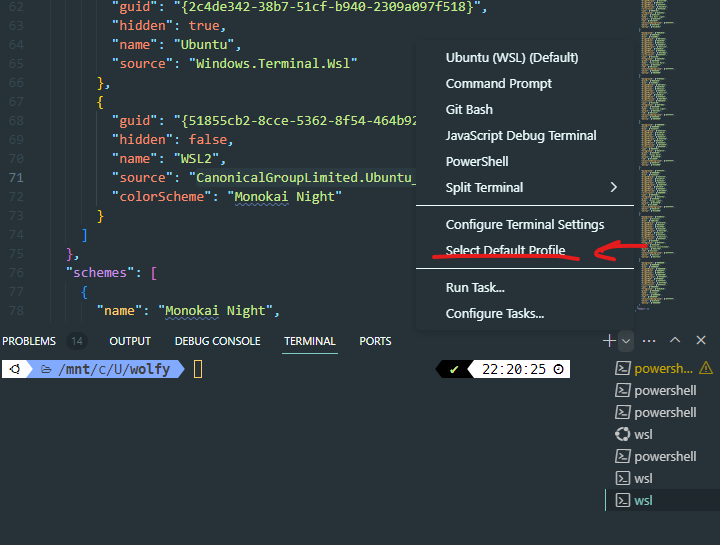
이제 VSCode의 터미널에서도 PowerShell이 아닌 Ubuntu로 실행되도록 설정을 해야합니다
VSCode의 터미널을 실행하고 터미널의 오른쪽 + 옆 화살표를 누르고 기본설정을 바꾸면 됩니다.
Select Default Profile 클릭
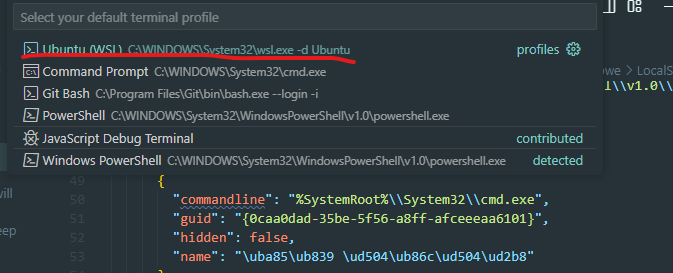
클릭하면 상단에 고를수 있는 옵션들이 나오는데요 Ubuntu (WSL)을 선택해줍니다.
그러면 이제 터미널을 생성할 때 Ubuntu로 생성됩니다
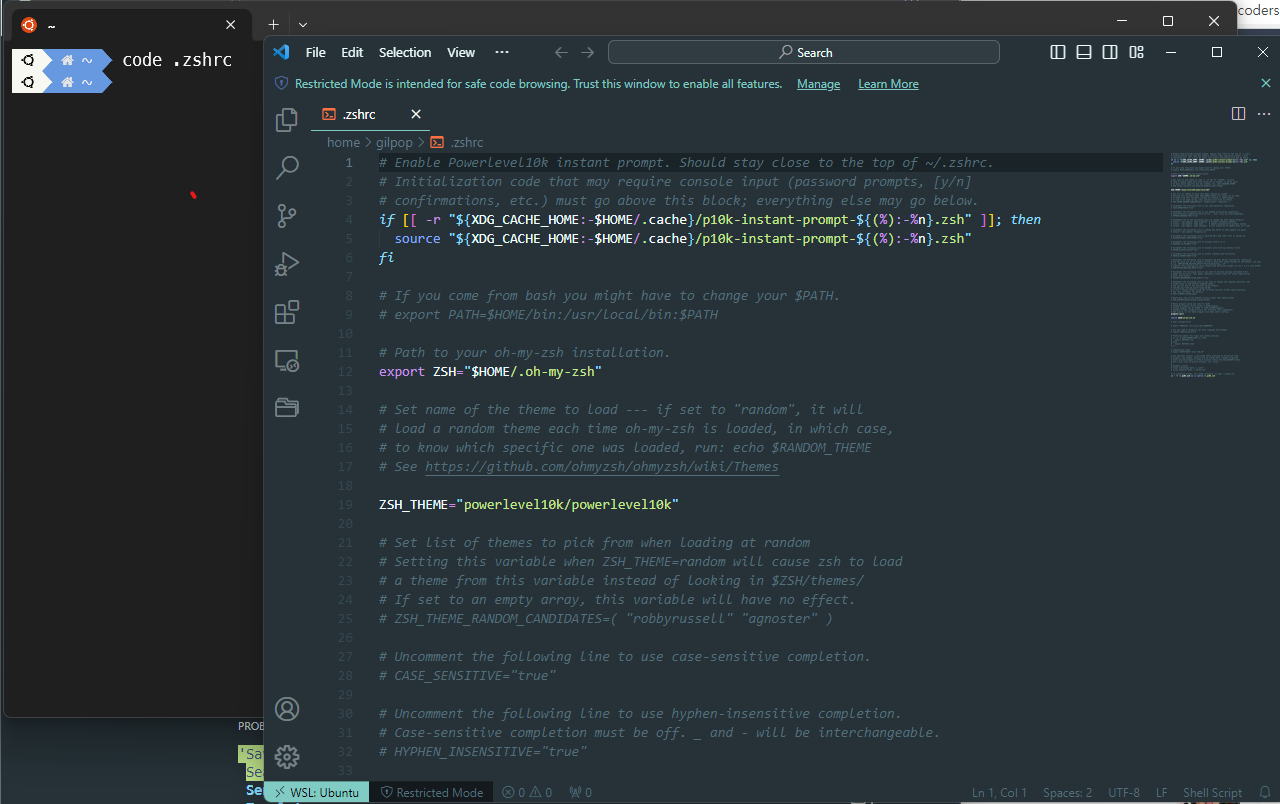
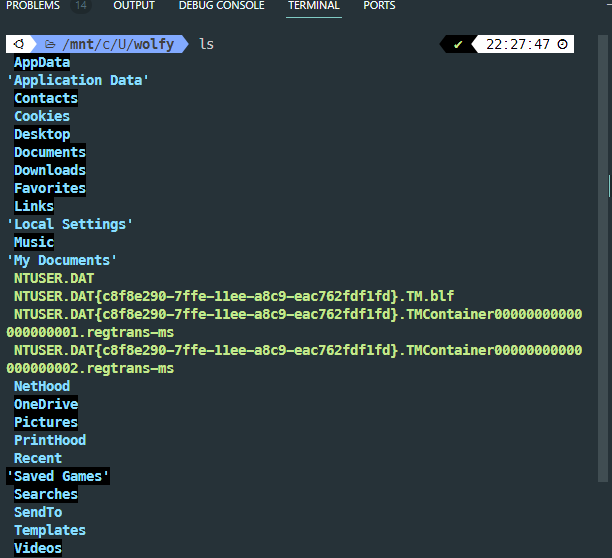
추가로 터미널에서 ls를 했을 때 색상을 커스텀할 수 있습니다.
.zshrc를 설정해서 할 수 있는데요
code. zhsrc로 진입해줍니다.
큰 차이는 없네요!
Before
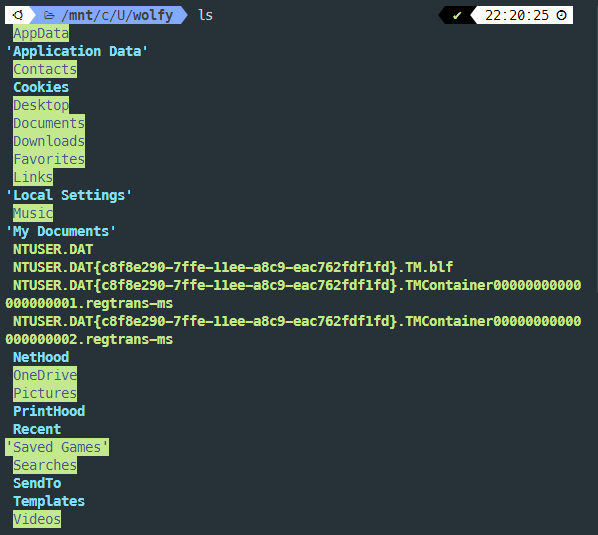
After
번외로 Powerlevel10K를 다시 설정하고 싶다면
아래의 명령어를 입력하면 됩니다
p10k configure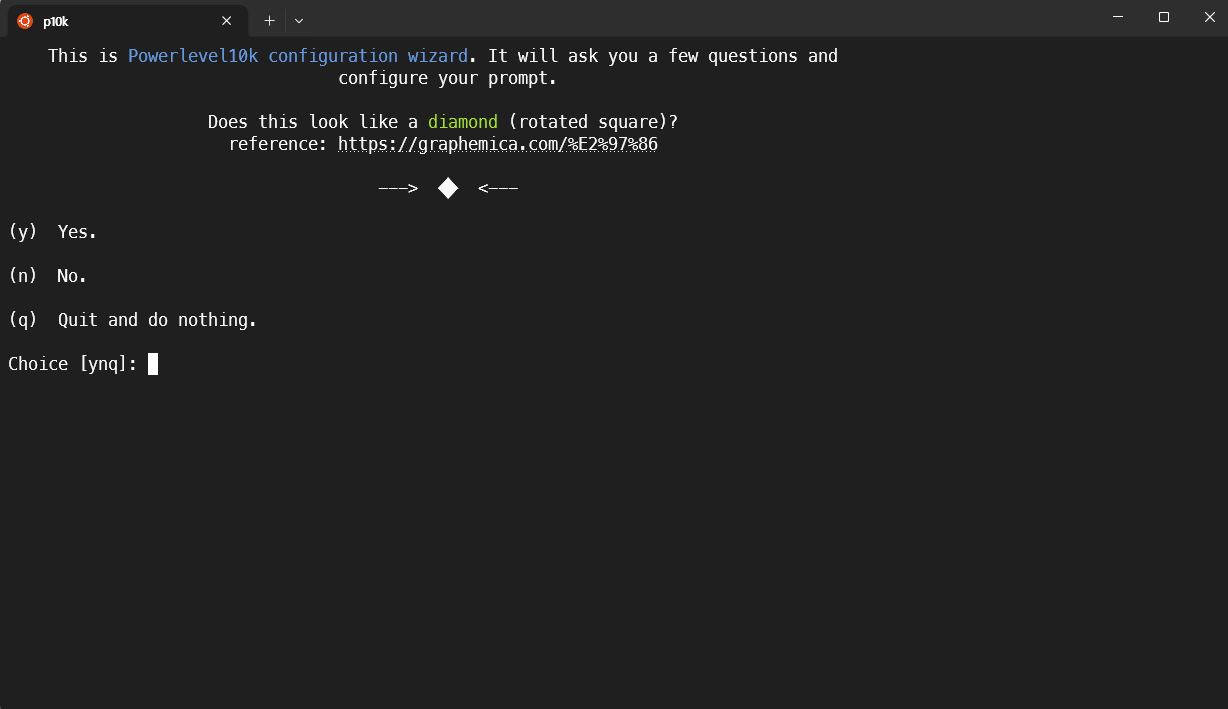
참고자료
GitHub - romkatv/powerlevel10k: A Zsh theme
A Zsh theme. Contribute to romkatv/powerlevel10k development by creating an account on GitHub.
github.com
GitHub - ohmyzsh/ohmyzsh: 🙃 A delightful community-driven (with 2,200+ contributors) framework for managing your zsh config
🙃 A delightful community-driven (with 2,200+ contributors) framework for managing your zsh configuration. Includes 300+ optional plugins (rails, git, macOS, hub, docker, homebrew, node, php, pyth...
github.com
All Courses – 노마드 코더 Nomad Coders
초급부터 고급까지! 니꼬쌤과 함께 풀스택으로 성장하세요!
nomadcoders.co
- Total
- Today
- Yesterday
- env
- 아차산
- 우아한테크코스
- 원티드
- 북클럽
- nextjs
- 윤성우 열혈C프로그래밍
- electron
- NextRequest
- jest
- 스토리 북
- NextApiRequest
- import/order
- nodejs
- 노마드코더
- React
- createPortal
- error
- CLASS
- Storybook
- TopLayer
- javascript
- 프론트앤드
- WSL2
- 프리온보딩
- 초보
- 위코드
- 노개북
- C언어
| 일 | 월 | 화 | 수 | 목 | 금 | 토 |
|---|---|---|---|---|---|---|
| 1 | 2 | 3 | ||||
| 4 | 5 | 6 | 7 | 8 | 9 | 10 |
| 11 | 12 | 13 | 14 | 15 | 16 | 17 |
| 18 | 19 | 20 | 21 | 22 | 23 | 24 |
| 25 | 26 | 27 | 28 | 29 | 30 | 31 |