
티스토리 뷰
https://www.electronjs.org/docs/latest/tutorial/quick-start
Quick Start | Electron
This guide will step you through the process of creating a barebones Hello World app in Electron, similar to electron/electron-quick-start.
www.electronjs.org
yarn add --dev electron
elctron을 설치하는 것은 어렵지 않습니다.
문제는 WSL2 환경에서는 모니터가 없고 , 기본적으로 linux라면 깔려있어야 할 것들이 안깔려있어서 많은 오류를 만나게 되어 이 글을 작성하게 되었습니다.
[에러코드] 디스플레이가 없다.
[19615:19615:0219/152933.751028:ERROR:browser_main_loop.cc(1512)] Unable to open X display.
결과적으로는 이 글을 보고 많이 따라했습니다 그렇지만 한글로 제가 나중에 찾아보기 쉽도록 정리하는 중입니다.
https://gist.github.com/caseywatts/9700b402b6b51d1d6af9f0b206739770
Electron on WSL2.md
GitHub Gist: instantly share code, notes, and snippets.
gist.github.com
먼저 안깔려 있는 패키지들을 깔아주어야 합니다.
sudo apt install libgconf-2-4 libatk1.0-0 libatk-bridge2.0-0 libgdk-pixbuf2.0-0 libgtk-3-0 libgbm-dev libnss3-dev libxss-dev
저는 중간에 크롬도 깔아주었습니다.
https://scottspence.com/posts/use-chrome-in-ubuntu-wsl
Use Google Chrome in Ubuntu on Windows Subsystem Linux · Scott Spence
This is a specific usecase for installing Google Chrome in Ubuntu on WSL. On Ubuntu, Snap is the preferred method to install Chromium and although snap is on the WSL image you get from the Microsoft store it’s not functional. There is a solution...
scottspence.com
크롬 설치
wget https://dl.google.com/linux/direct/google-chrome-stable_current_amd64.deb
sudo apt -y install ./google-chrome-stable_current_amd64.deb
모니터 출력을 연결해주는 프로그램
https://sourceforge.net/projects/vcxsrv/
VcXsrv Windows X Server
Download VcXsrv Windows X Server for free. Windows X-server based on the xorg git sources (like xming or cygwin's xwin), but compiled with Visual C++ 2012 Express Edition. Source code can also be compiled with VS2008, VS2008 Express Edition and VS2010 Expr
sourceforge.net
깔고나서 다시 실행해서 설정해주어야 합니다.
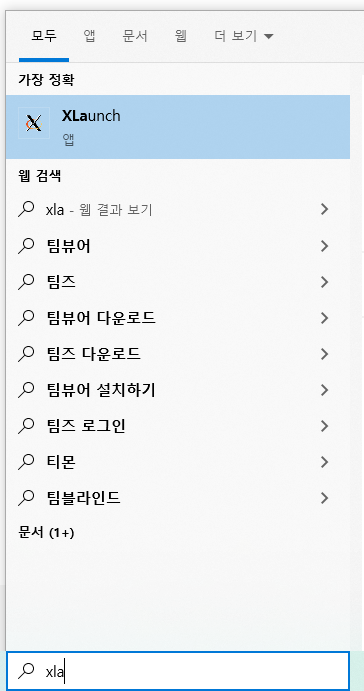
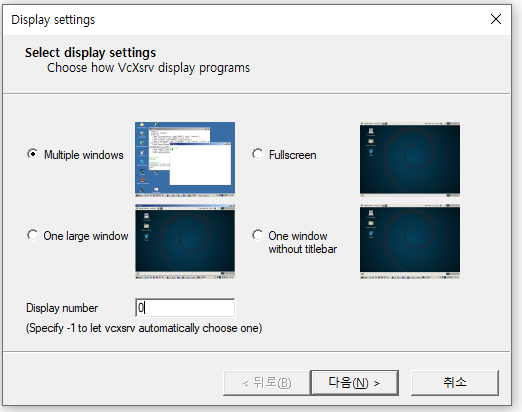
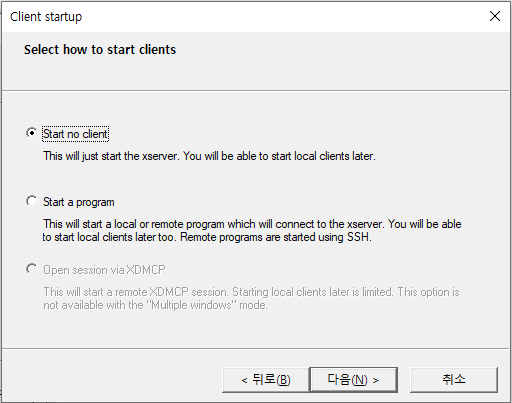
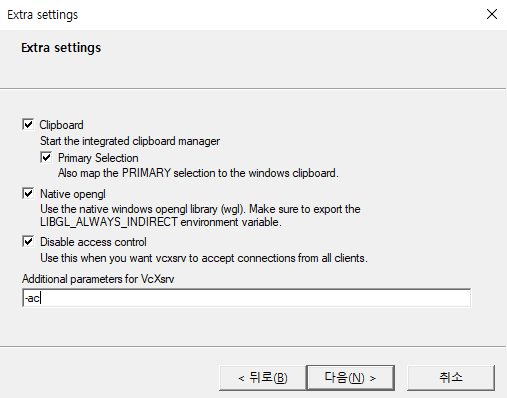
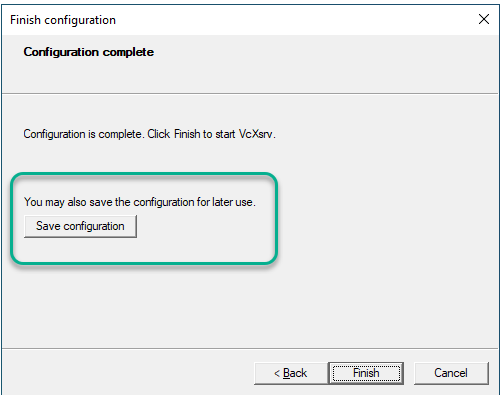
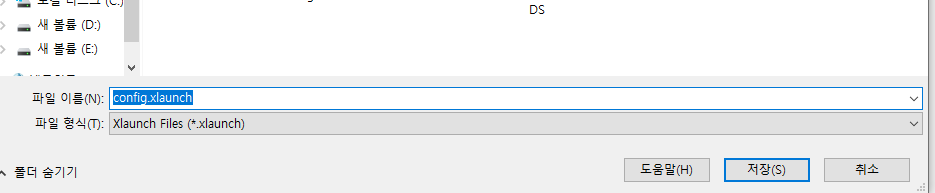
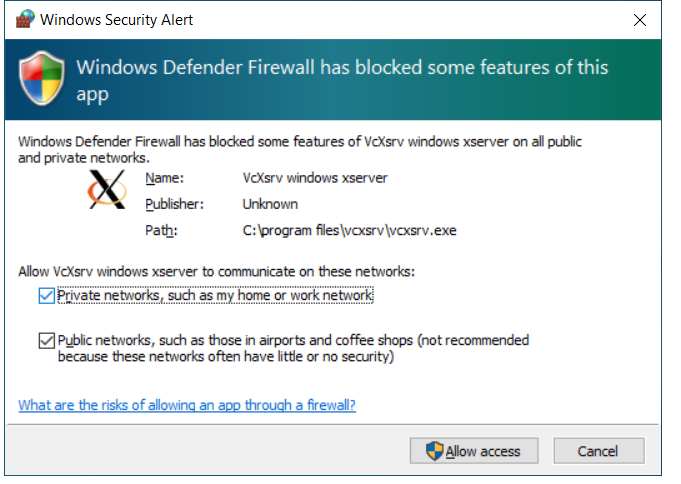
모든 xlauncher 설정이 끝났습니다.
터미널 설정
export DISPLAY="`grep nameserver /etc/resolv.conf | sed 's/nameserver //'`:0"
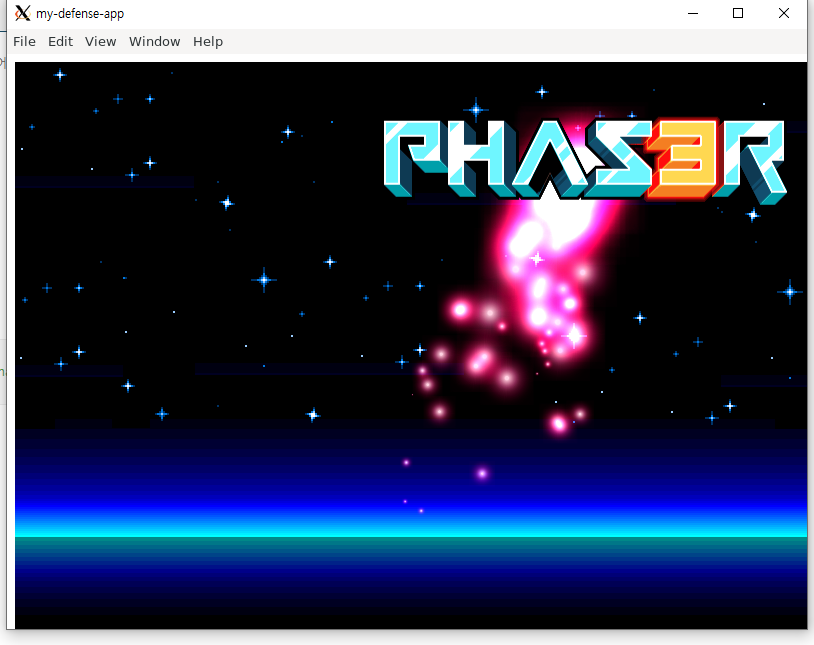
이제 yarn start 하시면 될 것 입니다.

'Electron' 카테고리의 다른 글
| Electron ReferenceError: require is not defined 에러 해결 방법 (0) | 2023.01.27 |
|---|---|
| Electron fullscreen 전체 화면으로 만들기 (2) | 2023.01.18 |
| wsl2에서 electron을 사용하고 VcXsrv Windows X Server에서 한글이 깨질 경우 해결 방법 (0) | 2022.12.21 |
- Total
- Today
- Yesterday
- React
- 프론트앤드
- C언어
- 초보
- 윤성우 열혈C프로그래밍
- TopLayer
- NextRequest
- nextjs
- 위코드
- Storybook
- 아차산
- createPortal
- 우아한테크코스
- 북클럽
- jest
- electron
- error
- 노마드코더
- 프리온보딩
- 스토리 북
- nodejs
- 원티드
- CLASS
- WSL2
- import/order
- NextApiRequest
- 노개북
- env
- javascript
| 일 | 월 | 화 | 수 | 목 | 금 | 토 |
|---|---|---|---|---|---|---|
| 1 | ||||||
| 2 | 3 | 4 | 5 | 6 | 7 | 8 |
| 9 | 10 | 11 | 12 | 13 | 14 | 15 |
| 16 | 17 | 18 | 19 | 20 | 21 | 22 |
| 23 | 24 | 25 | 26 | 27 | 28 | 29 |
| 30 |